- WhatsApp: 8613777772066
- Email: [email protected]


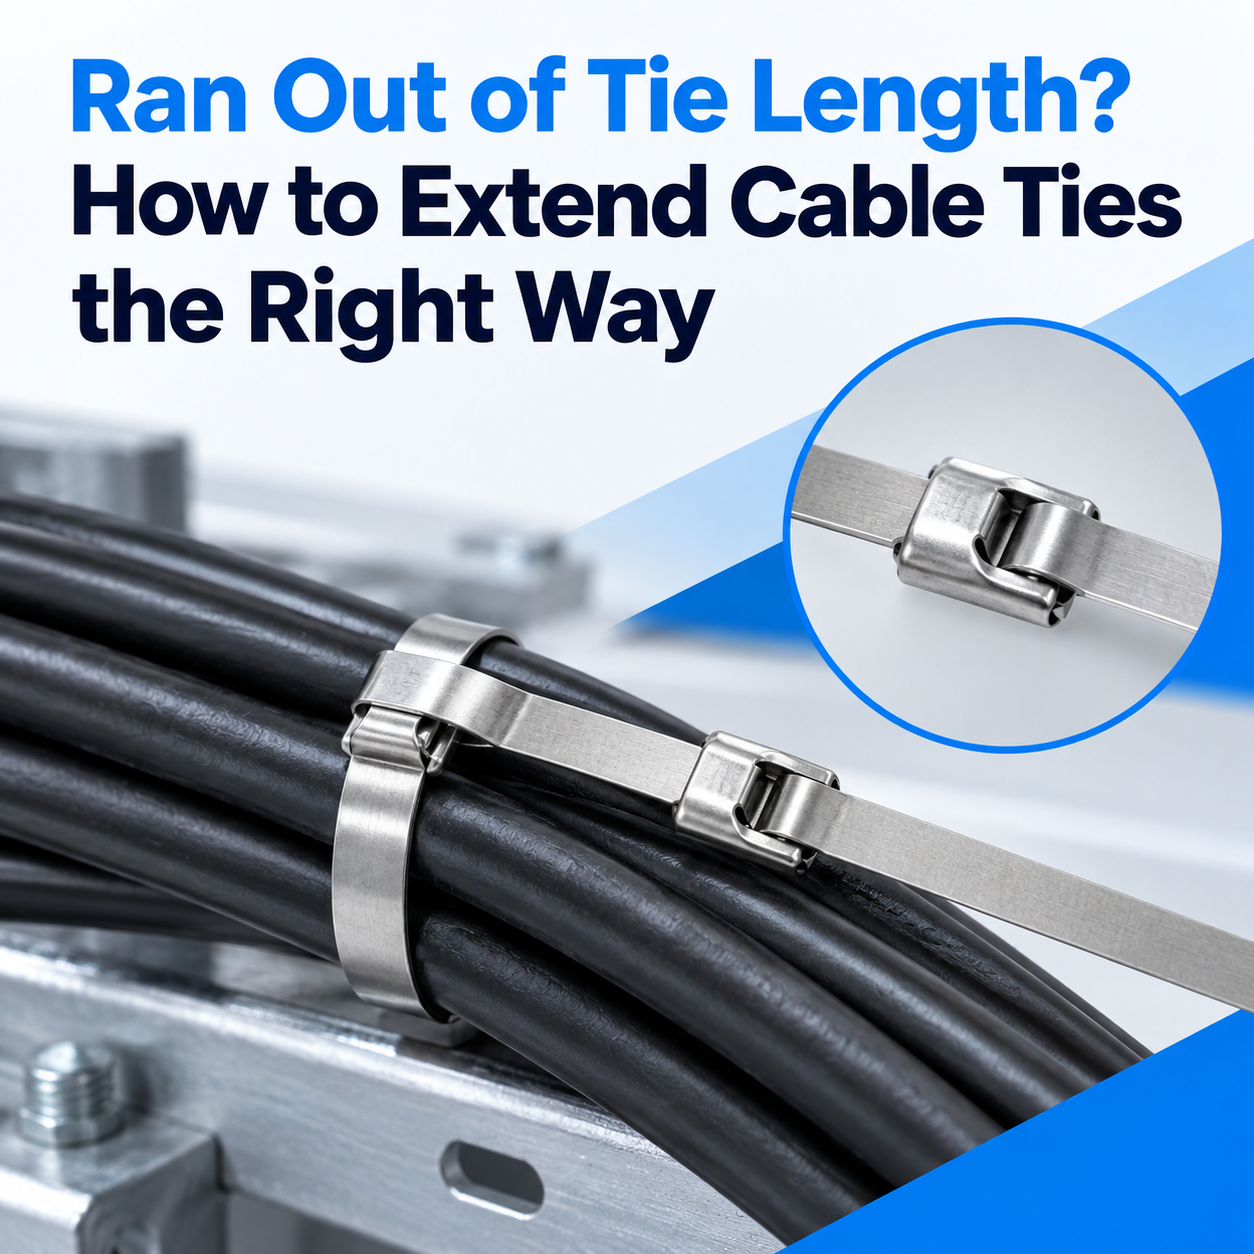
You’ve measured the bundle, wrapped the tie, and come up two inches short. Every installer, maintenance planner, and purchasing manager has been there — the cable tie in your hand simply isn’t long enough for the job in front of you.
The good news: you can extend a cable tie. You can join two ties head-to-tail, bridge two short ties with a third, or skip the workaround entirely and step up to a longer heavy-duty tie. The right choice depends on how much load the joint has to carry and how long the installation needs to last.
In this guide, you’ll learn five field-tested ways to handle a tie that’s too short, how much strength each method sacrifices, and how to specify the correct length the first time — so your team stops improvising on site and your purchasing team stops paying for wasted hardware.
Before you reach for a second tie, it helps to know where a joined tie can — and cannot — be trusted.
A cable tie is engineered so its head and strap share one rated tensile strength. The moment you connect two ties, the joint becomes the weakest point in the system. For a light-duty bundle that only needs to stay tidy, that trade-off is usually acceptable. For a load-bearing harness, an overhead run, or anything exposed to vibration and heat, a joint you can’t verify is a service call waiting to happen.
A good rule of thumb for your team: extend for tidiness, replace for strength. When in doubt, order the correct length, so there is almost always a single tie that fits the job without a joint.
This is the fastest fix when the tie in your hand comes up short and there is no resupply nearby. Here’s how you do it correctly:
Keep in mind that the head of the first tie is now carrying the load of the entire bundle. This method works best for organizing wire groups inside a cabinet — not for suspending cable runs.

Ninety percent of extension problems disappear at the ordering stage. Instead of asking your crew to join ties, you spec the correct size once and the problem never returns. When you evaluate options, match these four numbers to your application:
One more upgrade worth making: tighten with a proper cable tie gun instead of pliers. A tensioning tool pulls the tie to a consistent preset and trims the tail flush with the head, which removes the sharp edge that causes cuts — and gives every bundle on your line the same finished tension.

For long runs — along a cable tray, a strut channel, or a bank of conduits — you can chain ties together. Fasten tie A around the first bundle and tie B around the second, then pass a third tie through both heads to bridge the gap between them.
This is standard practice for temporary routing, event wiring, and trial installations. Just remember that the bridge adds two joints instead of one, so keep chained ties off load-bearing paths and replace them with single continuous ties before handover.
Sometimes the real problem isn’t tie length — it’s routing. If your run travels along a wall, a joist, or the inside of an enclosure, you can eliminate the length question entirely by anchoring the run at intervals instead of bundling it end to end.
Cable clips with steel nails fix single cables and small groups to surfaces quickly, and their PE body plus corrosion-resistant nail holds up in damp environments. For round bundles pressed against a frame, cable clamps give you a screw-anchored, vibration-tolerant hold. Both approaches turn an unbounded length problem into a simple spacing decision.
Engine bays, rooftop HVAC units, and production machinery punish plastic joints. Heat softens nylon and vibration works a joint loose over time — a connected tie that passed your tug-test in the morning can loosen months later.
In those environments, don’t extend. Use automotive cable ties made of industrial-grade nylon 6/6, rated from -40°F to 266°F (-40°C to 130°C), with higher break points even at cold temperatures. A single correctly sized tie costs less than the warranty claim a failed joint can create.
| Method | Best For | Strength at the Joint | Tools Needed |
|---|---|---|---|
| Join two ties head-to-tail | Light bundles, quick tidy-ups, no resupply on hand | Reduced — the joint is the weak point | Two ties, hands |
| Longer or heavy-duty single tie | Permanent, load-bearing bundles | Full rated strength (18–250 lb) | Cable tie gun (recommended) |
| Third-tie bridge | Long temporary runs along trays or channels | Moderate — two joints in the path | Three ties, hands |
| Cable clips or clamps | Surface routing where length doesn’t matter | High — anchored to the structure | Hammer or screwdriver |
| Automotive nylon 6/6 tie | Engine bays, outdoor and high-vibration installs | Full rated strength, -40 to 266°F | Cable tie gun (recommended) |
The easiest way to never extend a tie again is to size it correctly on the purchase order. Use this simple formula for your next quote:
Bundle circumference + tail allowance = minimum tie length. Measure the bundle diameter, multiply by 3.14 for the circumference, then add 2–3 inches so the head engages and the tail can be trimmed cleanly.
Example: a 2-inch bundle needs about 6.3 inches of wrap plus 3 inches of tail — so you specify a 10-inch or 12-inch tie, never a 9-inch one. Standardize one length per bundle type across your project and your crew stops mixing sizes.

Send us your bundle diameter, application, and environment — BOESE engineers will recommend the correct nylon or heavy-duty cable tie, or produce a custom size for your production line.
Yes. Feed the tail of the second tie through the head loop of the first before it fully cinches, then pull both snug so they form one continuous loop. It’s a valid field fix for light-duty bundles, but the joint reduces the strength of the assembly, so use a single correctly sized tie for load-bearing work.
Yes, in nearly every case. Each tie is rated to its full tensile strength only as a single, unbroken loop. Once joined, the head of the first tie carries the entire load, and the rated strength of the combined assembly drops to whatever that joint can hold — usually well below either tie’s individual rating.
Don’t extend it — replace it. A single heavy-duty nylon tie delivers its full rated tensile strength (up to 250 lb) with no joint in the load path. If the run is genuinely longer than your largest tie, anchor it at intervals with cable clips or clamps instead of chaining ties together.
No. Heat softens nylon and vibration works joints loose, so a connected tie in those conditions is a reliability risk. Use automotive cable ties made of nylon 6/6, rated from -40°F to 266°F (-40°C to 130°C), and size them correctly for the bundle instead of joining two standard ties.
Replace whenever the bundle is load-bearing, overhead, exposed to weather, heat, or vibration, or subject to inspection standards. Extend only for tidiness on light, accessible, low-stakes bundles. As a rule for your team: extend for tidiness, replace for strength.



Modern enterprise integrating R&D, production, sales and service
Privacy Policy | Sitemap
Copyright BOESE Co.,Ltd SUPPORT BY :JUNJ
 Optimized by Seraphinite Accelerator