- WhatsApp: 8613777772066
- Email: [email protected]


If you’ve ever watched a production line worker fumble with a manual cable tie gun — over-tightening one bundle, under-tightening the next — you already know the cost. Inconsistent tension means callbacks, safety flags, and wasted labor hours. Learning how to use a cable tie gun correctly isn’t just a shop-floor detail; it’s a repeatable process that protects your wiring, your inspection pass rate, and your bottom line.
In this guide, you’ll walk through exactly how to load, position, tighten, and cut with a cable tie gun — plus how to adapt the process when your application calls for a stainless steel cable tie gun instead of a standard nylon setup.
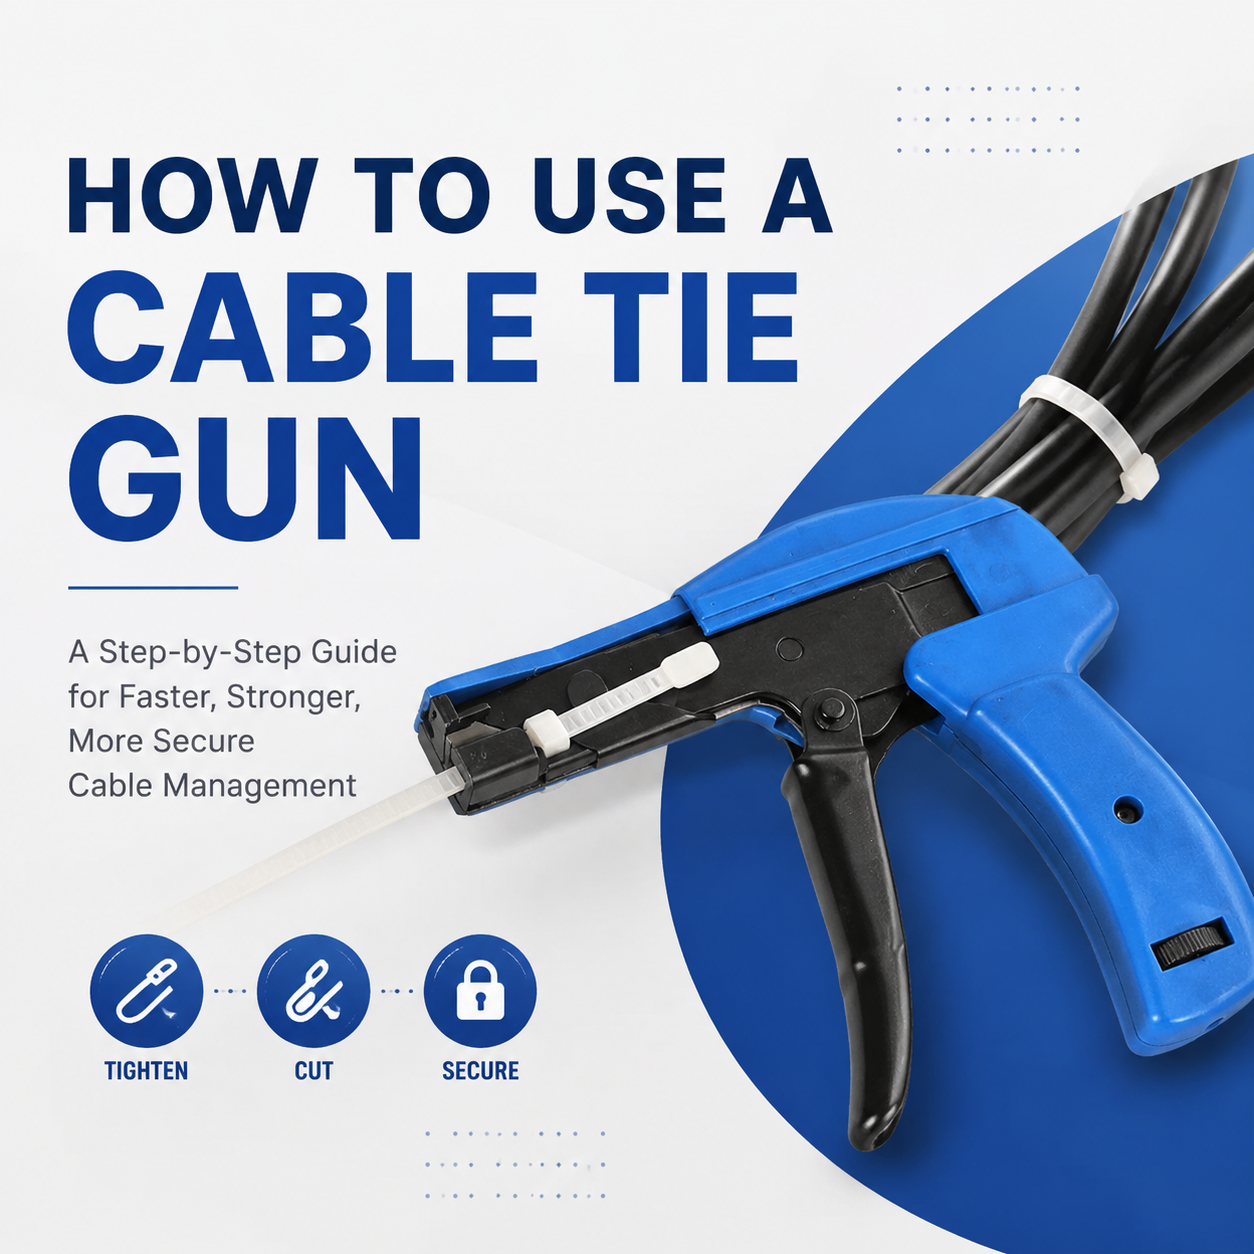
A cable tie gun is a handheld or pneumatic tool that tensions, locks, and trims a cable tie in a single motion. Instead of pulling a tie tight by hand and cutting the tail with side cutters, you insert the tie into the tool’s jaw, pull the trigger (or lever), and the gun applies consistent tension before automatically flush-cutting the excess strap.
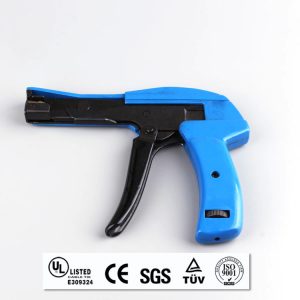
For your business, that consistency is the entire point. Manual tensioning varies from operator to operator — some pull too hard and crack the tie head, others leave bundles loose enough to shift, chafe, or fail inspection. A cable tie tool removes that variability, which matters most when you’re running high-volume harness assembly, panel wiring, or outdoor cable runs where a single failed tie can mean a service call.
The core workflow is the same across most brands and models, whether you’re running a basic manual gun or an automatic zip tie gun on the line. Here’s how to run it correctly every time.
Knowing how to tighten cable ties correctly is really about tension control, not brute force. Over-tightening is the single most common mistake your team will make with a new gun, especially when switching from hand-pulling to a mechanical tool.
A few working guidelines your team can apply on the floor:
Not every application needs the same tool. Here’s how the two main categories compare so you can match the right cable tie tool to your production volume.
| Feature | Manual Cable Tie Gun | Automatic Zip Tie Gun |
|---|---|---|
| Best for | Low-to-medium volume, field service, spot repairs | High-volume harness assembly, repetitive line work |
| Tension consistency | Depends on operator technique | Fixed and repeatable across every tie |
| Cutting step | Often separate side-cutter step | Integrated flush cut in one motion |
| Operator fatigue | Higher on long shifts | Lower — trigger pull replaces hand-pulling |
| Upfront cost | Lower | Higher, offset by labor savings at scale |
A metal cable tie gun isn’t interchangeable with a standard nylon tool, and treating it like one is where most damage happens. Stainless steel ties tension and lock differently from nylon — the strap doesn’t stretch, so the tool needs to apply and release tension in a way that won’t kink the band or crimp the buckle unevenly.
When you’re running a tool for metal cable ties, keep these points in mind:
Even when your gun handles tensioning and trimming in one motion, your team will still run into situations where a stainless steel tie needs to be cut by hand — removal, rework, or a spot the gun’s jaw can’t reach. Stainless strap doesn’t cut like nylon, and using the wrong tool is a fast way to injure a hand or damage the surrounding cable jacket.
A few things to keep in mind before you reach for cutters:
Getting the cutting step right matters just as much as the tensioning step — a rushed cut is one of the more common causes of minor shop-floor injuries when teams switch from nylon to stainless applications.
Before you standardize on one cable tie gun across your operation, it’s worth mapping the tool to your actual use cases rather than buying on price alone. Ask what tie width range you run most often, whether you need adjustable tension, and whether any part of your line touches stainless or metal-detectable ties.

It also helps to understand the material you’re tensioning in the first place. If your team is still deciding between tie types for a given application, our comparison on cable tie vs. zip tie breaks down where each term applies. And if you’re sourcing ties in bulk rather than one tool at a time, you’ll want a supplier that can back the tool with consistent tie quality — our roundup of the top nylon cable tie manufacturers is a useful starting point if you’re vetting vendors.
If your team is tightening hundreds of ties a shift, the right tool pays for itself in fewer failed inspections and less rework. Explore BOESE’s cable tie gun range to find a tool built for your tie material and volume.
There’s no single universal setting — it depends on tie material, strap width, and bundle sensitivity. Start on a low-to-mid setting, test on scrap bundle, and adjust upward until the tie holds firmly without cracking the head.
Only if the tool is specifically rated for both. Standard nylon-only guns aren’t built to tension stainless strap correctly and can wear out fast if you try.
This is almost always a tension setting that’s too high for the tie material. Lower the setting incrementally and re-test rather than switching tie brands first.
Most standard tools accept a range around 4.6mm to 9mm nylon strap. Always check your specific model’s jaw capacity before ordering ties in bulk.
If your team ties fewer than a few hundred bundles a week, a manual tool is usually enough. Once volume climbs, the labor savings and tension consistency of an automatic tool tend to offset the higher upfront cost.
Most modern tools do — tensioning and flush-cutting happen in the same trigger pull. Older or basic manual tools may still require a separate cut with side cutters.
Keep the jaw and feed channel free of strap debris, check for wear on the gripping teeth periodically, and avoid forcing an oversized tie through the tool, which accelerates wear.
Pliers or side cutters only trim the tail after you’ve hand-tightened the tie — tension is entirely manual. A dedicated cable tie tool controls both tension and cutting mechanically, which is why it produces more consistent results at volume.
Only if tension is set too high for the bundle type. That’s why sensitive cabling like fiber optic needs a lower tension setting than heavy power cable.
Stick to stainless steel or metal-banded ties designed for that tool. Running nylon ties through a metal-rated gun’s jaw can cause slippage since the mechanisms are calibrated for a stiffer strap.

Modern enterprise integrating R&D, production, sales and service
Privacy Policy | Sitemap
Copyright BOESE Co.,Ltd SUPPORT BY :JUNJ
 Optimized by Seraphinite Accelerator