- WhatsApp: 8613777772066
- Email: [email protected]


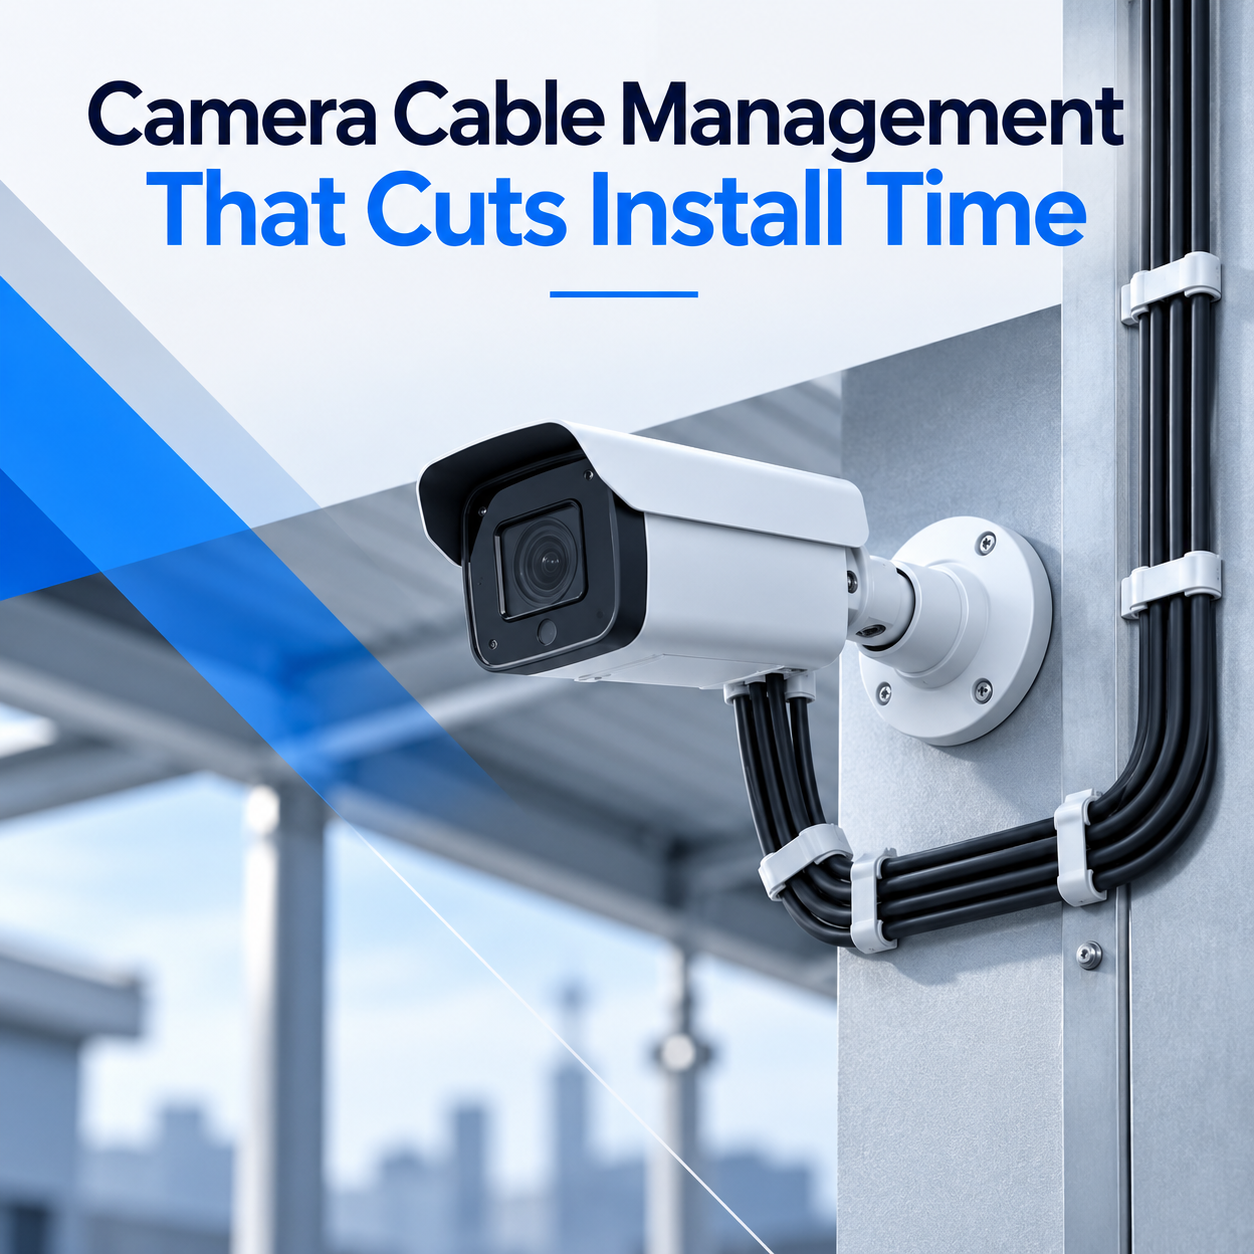
You finish the camera install, power it on, and the image looks sharp. A week later, the customer calls because a cable snagged on a ladder, water seeped into a connector, or an inspector flagged exposed wiring. That is the moment you realize camera cable management is not a finishing touch; it is the difference between a clean handover and an expensive callback.
In this guide, you will learn how to route, secure, and protect CCTV and IP camera cables using products that are built for real job sites. Whether you are a security integrator, an electrical contractor, a facilities manager, or a procurement buyer sourcing hardware for your business, these steps will help you deliver installations that look professional, last longer, and keep maintenance costs down.

Camera cable management is the process of organizing, supporting, and shielding the wires that run between cameras, power supplies, network switches, and recording equipment. It covers the full path from the camera body to the network video recorder or power-over-Ethernet switch, including wall runs, ceiling drops, junction boxes, and server racks.
Good management does four things. It keeps cables away from moving parts, foot traffic, and weather. It removes strain from connectors so RJ45 or BNC terminations do not loosen over time. It makes every line traceable, which saves hours during troubleshooting. And it protects signal integrity by preventing sharp bends, kinks, and electromagnetic interference from adjacent power cables.
For B2B buyers, the goal is simple: your team should be able to install faster, service easier, and warranty with confidence. That starts with choosing the right cable clips, ties, mounts, and glands before the first hole is drilled.
Untidy wiring is more than an eyesore. When cables sag across ceilings or dangle from eaves, they become collection points for dust, moisture, and physical damage. A single pinched PoE cable can drop a camera offline, trigger false alarms, or corrupt recorded footage. In outdoor installs, an unsealed entry point can let water wick straight into the camera housing and ruin the lens.
Your business also pays in reputation. End users judge an installation by what they can see. A neat cable run signals professionalism and care. A messy run suggests the rest of the work was rushed. For distributors and resellers, poor field quality leads to warranty claims, negative reviews, and lost repeat orders.
Inspectors add another layer of risk. Many regions require low-voltage wiring to be supported at regular intervals, protected from abrasion, and properly sealed at enclosure entry points. Failures here can delay project sign-off and create rework that eats into margin.
BOESE has been manufacturing cable ties, clips, and wire management products long enough to know that spec sheets only tell half the story. The other half is what happens when an installer is on a ladder at five in the afternoon and needs a clip that seats cleanly on the first strike, a mount that sticks to painted concrete, or a tie that releases without cutting.
Every product in the BOESE range is molded from high-grade materials. The nylon cable ties use Nylon 66 certified to UL standards. Cable tie mounts combine ABS and PA66 rated 94V-2, while cable clips pair PE bodies with steel nails that resist corrosion and high temperatures. The company holds ISO9001, RoHS, TUV, and CE certifications, and it exports to 40 countries from a 5,000-square-meter production facility.
That combination of material quality and production scale means you are not buying disposable hardware. You are buying components that match the duty cycle of commercial security systems, backed by a manufacturer that understands B2B procurement needs like consistent sizing, stable supply, and competitive wholesale pricing.
Start by tracing the shortest safe route from each camera to the switch or recorder. Avoid running network cables parallel to high-voltage lines for more than a few inches, and keep them at least six inches away from fluorescent ballasts and motors. Mark anchor points every eighteen to twenty-four inches so the cable never free-spans far enough to sag or swing.
Think about future access. If a camera needs to be repositioned in two years, will you have to tear out wall clips to release the cable? Leave service loops near the camera and near the termination point, but keep those loops neat and supported rather than dangling.
On wood, drywall, or masonry, hammer-in clips give you a fast, permanent anchor. Choose a clip size that matches the cable diameter so the line sits snugly without being crushed. For runs along metal panels or plastic junction boxes, mountable head cable ties are the better choice. They let you bundle the cable first, then fix the assembly to a plate with a single screw.
When several cameras converge above a drop ceiling or inside a rack, use ties to group cables by zone or by switch port. Do not overtighten; a tie that bites into the jacket can deform the internal conductors and degrade PoE performance. Leave enough slack at each end so terminations are not under tension.
For temporary runs or sites where the final camera layout is still changing, releasable cable ties save time and material. BOESE releasable ties open with one hand, and are available in a PA66W outdoor grade for weather-exposed installations.
The weakest link in most outdoor camera installs is where the cable enters the camera body, junction box, or wall. If the hole is left open, water, insects, and dust will find it. A properly sized nylon cable gland creates a sealed, strain-relieved entry that keeps moisture out and prevents the cable from being pulled free by wind or maintenance activity.

Not every surface accepts the same fastener, and not every camera cable carries the same load. Use the table below to match the application to the BOESE product that fits it best.
| Application | Challenge | BOESE Solution | Why It Works |
|---|---|---|---|
| Wall or ceiling cable runs | Cables sag or pull away from the surface | Flat cable clips | PE body plus corrosion-resistant steel nail; sizes from 4 mm to 14 mm |
| Camera mounted on metal or plastic plates | Need a screw-fixed tie base | Mountable head cable ties | UL-rated Nylon 66; bundle then screw to plate; tensile up to 55 kg |
| Surfaces where drilling is not allowed | Landlords or finished interiors restrict holes | Cable tie mounts | Self-adhesive ABS/PA66 base; sizes 20 mm to 40 mm; no drill required |
| Temporary or changing camera layouts | Cables need frequent re-routing | Releasable cable ties | One-hand release; reusable; PA66W option for outdoor use |
| Outdoor junction boxes and camera housings | Water, dust, and cable pull-out | Nylon cable glands | Sealed entry with strain relief; locks out moisture and debris |
Outdoor installs add UV exposure, temperature swings, rain, and wind to the list of things your cable management must survive. Standard indoor ties will become brittle after a season or two in direct sun, and unprotected RJ45 boots can wick water into the connector.
For exterior camera runs, choose UV-stabilized or PA66W-rated ties that keep their tensile strength across temperature cycles. Route cables so water cannot pool at low points, and use drip loops below camera housings so moisture runs off instead of tracking into the seal. At every enclosure entry, pair a nylon cable gland with a grommet or bushing to isolate the jacket from sharp metal edges.
Color also matters for outdoor aesthetics. Black ties and clips disappear against dark soffits and brackets, while white or gray blends better with painted eaves. BOESE products are available in a range of colors, so you can match the installation instead of fighting it.
BOESE manufactures ISO-certified cable clips, cable ties, mounts, and glands for security installers, distributors, and OEMs worldwide. Tell us about your project and get samples plus a tailored wholesale quote.
Use this checklist on your next camera installation to make sure nothing gets missed before the client walkthrough.

The best outdoor camera cable management combines UV-rated cable ties, rigid or flexible conduit where needed, and sealed entry points. Route cables along protected surfaces, anchor them every eighteen to twenty-four inches, and install nylon cable glands at every junction box to block water and dust.
You can hide camera wires by running them inside walls or ceilings, along crown molding, or behind conduit. When surface routing is the only option, use color-matched cable clips or adhesive cable tie mounts to keep the line tight and low-profile against the surface.
Standard self-locking cable ties must be cut to remove. If your camera layout changes often, use releasable cable ties. They open with a finger trigger and can be reused many times without losing grip, which saves material and reduces installation time.
Self-adhesive cable tie mounts are designed exactly for this situation. They stick to clean, flat surfaces such as painted drywall, glass, or metal, giving you a secure anchor point for cable ties without holes or screws.
In the rack or NVR room, group camera cables by switch port or by zone using cable ties or hook-and-loop straps. Route them through cable management rings or trays, label both ends, and leave enough slack for future maintenance without creating a tangled mess.
Choose a tie width and length based on bundle diameter and load. For one or two camera cables, a 3.6 mm wide tie is usually enough. For heavier bundles or outdoor runs exposed to wind, move up to 4.8 mm or 7.6 mm widths to get tensile strength from 22 kg to 55 kg.
Camera cable management is one of those details that separates a professional install from a risky one. When your cables are routed cleanly, supported correctly, and sealed against the elements, you spend less time on callbacks and more time winning the next project. Your business benefits from faster sign-offs, happier clients, and a reputation for quality that keeps distributors coming back.
If you are ready to stock hardware that installers actually want to use, start with the BOESE range of cable clips, mountable head cable ties, cable tie mounts, releasable cable ties, and nylon cable glands. Request samples today and see the difference on your next install.

Modern enterprise integrating R&D, production, sales and service
Privacy Policy | Sitemap
Copyright BOESE Co.,Ltd SUPPORT BY :JUNJ
 Optimized by Seraphinite Accelerator